DIY Kegerators Kits: Build Your Home Bar with These Easy-to-Use Kegerator Conversion Kits

Imagine the joy of having a fresh draft beer in the comfort of your own home, perfect for entertaining guests or simply enjoying a cold pint after a long day. With DIY kegerator kits, you can achieve this while also saving money and customizing your setup! In this blog post, we’ll guide you through selecting the right kegerator conversion kit for your needs, essential components, and transforming your fridge or freezer into your very own kegerator.
Key Takeaways
- Choose the perfect kegerator conversion kit for your home bar and get ready to pour the perfect pint every time!
- Transform a fridge or freezer into a custom Kegerator with ease & save money while enjoying a fresh draft beer at home.
- Regularly maintain CO2 pressure, beer lines & faucets for an amazing beer experience, cheers!
Choosing the Right Kegerator Conversion Kit for Your Needs
The first step in your homemade kegerator journey is to select the ideal kegerator conversion kit. Factors to consider include single or double-tap setups and specific kits for Guinness or Murphy’s beers. With a wide variety of kits available, you’re sure to find one tailored to your specific preferences and needs, turning your home bar into a draft beer haven!
Single vs. Double Tap Setups
You should carefully consider the advantages and disadvantages when choosing between a single tap and double tap setup for your homebrew kegerator. Single tap setups are perfect for those who only want to serve one type of beer in their own keezer, while double tap setups are great for offering multiple beer options. The cost difference between single tap and double tap kegerator setups can vary, with dual-tap kegerators typically coming at a higher price compared to single tap setups. The price difference can range from around $100 to several thousand dollars, depending on the specific setup and brand.
The installation requirements for a double tap kegerator setup in your home bar can differ based on the brand and model. In general, the installation process involves assembling key components such as casters, tap tower(s), faucets, regulators, and CO2 cylinder. During the installation process, make sure to follow the manufacturer’s guidelines and instructions for your particular kegerator model.
Guinness and Murphy's Specific Kits
If you’re a fan of Guinness or Murphy’s, you’re in luck! Specialized kits are available for dispensing these popular stouts, ensuring the perfect pour every time. These kits often come with a unique faucet handle designed for these types of beers, and a faucet-mounted system for easy installation.
Guinness or Murphy’s kegerator conversion kits include components such as a U system lever handle, nitro beer stout faucet, and stainless steel tower, which are essential for tapping and serving these incredible types of beer. These specialized kits can help streamline the setup process for the perfect pour, saving you time and effort.

Essential Components of a Kegerator Conversion Kit
A typical kegerator conversion kit comprises vital components like:

- Beer lines
- CO2 tanks
- Nitro faucet
- Keg couplers
- Beer shanks
These components work together to deliver a smooth, consistent pour and maintain the optimal temperature and carbonation levels for your draft beer.
Beer Line and CO2 Tank
In your kegerator, beer lines and CO2 tanks are instrumental in maintaining the right pressure and carbonation levels. A beer line, generally 5 feet long with an inside diameter of 3/16 inches, connects the keg to the beer faucet, allowing the beer to flow smoothly. The CO2 tank provides carbonation and maintains pressure levels, ensuring the perfect pour.
A 5lb CO2 tank typically lasts for 6 - 8 half kegs, so you won’t have to worry about constantly refilling it.
Beer Faucet, Keg Coupler, and Beer Shank
Beer faucets, keg couplers, and beer shanks are essential components that ensure a smooth and consistent pour from your kegerator. The beer faucet is the main point of dispensation, allowing you to pour the perfect glass of beer. The keg coupler is a key piece to completing the beer setup. It connects the keg to the beer line and airline, enabling CO2 to fill the keg and releasing the beer for consumption. Beer shanks connect the beer line to the faucet, completing the essential beer flow system.
With these components working together harmoniously, your homemade kegerator will deliver the perfect pint every time.
Transforming Your Fridge or Freezer into a Kegerator
Converting your fridge or chest freezer into a kegerator is easier than you might think! With the right kegerator conversion kit and some basic tools, you can transform your appliance into a custom kegerator that serves fresh draft beer.
This process involves preparing the fridge or freezer, installing the conversion kit components, and performing custom installations to suit your preferences.
Preparing the Fridge or Freezer
Before transforming your fridge or freezer into a kegerator, you need to prepare the appliance adequately. This involves removing any unnecessary shelves to ensure adequate space for kegs and components. Depending on the size of the kegs and your desired setup, you may need at least a 3.2 cubic foot mini fridge or freezer to fit a kegerator.
Next, clean the interior of your fridge or freezer thoroughly to create a sanitary environment for storing and dispensing your beer. This is an essential step in maintaining the freshness and taste of your draft beer, as a clean kegerator prevents bacteria and mold from growing.
Installing the Conversion Kit Components
After preparing your fridge or freezer, you can proceed to install the conversion kit components. Follow the manufacturer’s instructions for installing components such as:
- the shank
- beer lines
- faucet
- CO2 system
Make sure all connections are secure and leak-free, using a hex nut where necessary.
After installation, test your kegerator to ensure proper functioning. Here are the steps to follow:
- Adjust the CO2 pressure to the recommended level for the specific beer you’re serving. Most ales and lagers will be using 10-12 psi depending on the temperature of the kegerator.
- Monitor the system for any issues.
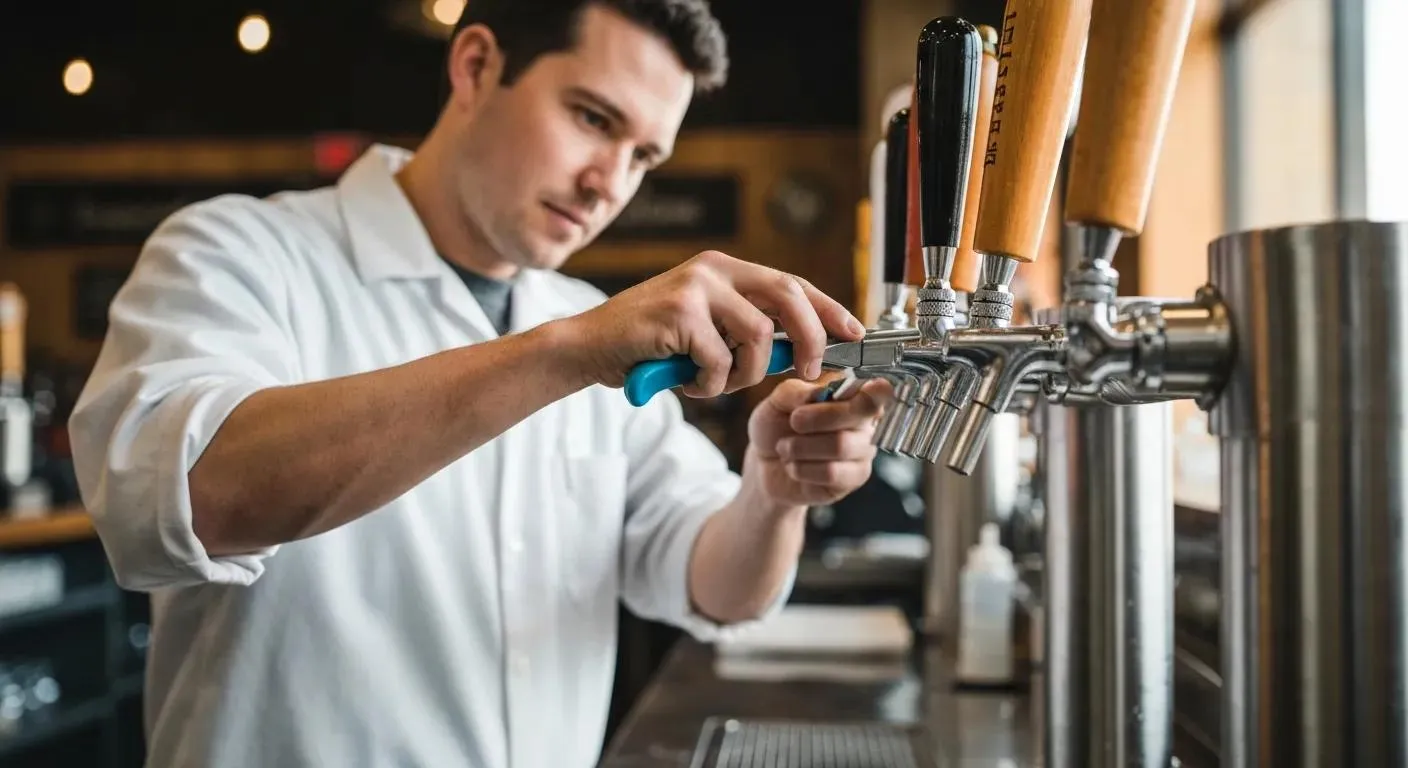
- Regularly clean the lines and faucets to keep your kegerator running smoothly and deliver the freshest draft beer possible.
Cost Savings and Benefits of DIY Kegerators
DIY kegerators provide various advantages, such as cost-effectiveness and the pleasure of savoring fresh draft beer at home. Building your own kegerator can be more economical than purchasing a pre-built unit, allowing you to invest in higher-quality components or more kegs.
Plus, the joy of serving fresh draft beer to your guests or simply enjoying a cold pint after a long day is priceless, and it can even help you save time.
Economical Advantages
When comparing the cost of a pre-built kegerator with building your own, the potential savings are significant. Pre-built kegerators can range from $500 to $3,000, while DIY kegerators can cost between a few hundred dollars to around $1,000, depending on the components used.

Apart from the initial cost savings, DIY kegerators also offer other economical advantages. Kegs of beer are generally cheaper per volume than individual cans or bottles, and the use of reusable kegs reduces waste and environmental impact. By building your own kegerator, you’re making an investment in both your home bar and the planet.
Fresh Draft Beer at Home
There’s nothing quite like the taste and experience of fresh draft beer, and with a DIY kegerator, you can enjoy this luxury at home. Draft beer poured from kegs in a clean draft system has a certain energy and freshness that canned or bottled beer may lack.
The freshness of your draft beer depends on factors such as the type of beer, shelf life, and how long the keg has been filled and stored. By maintaining your kegerator and following proper storage guidelines, you can enjoy the freshest draft beer possible at home.
Troubleshooting Common Kegerator Issues
Despite kegerators requiring relatively low maintenance, it’s crucial to address common problems that could occur. Properly regulating CO2 pressure and maintaining beer lines and faucets are key to ensuring optimal performance and taste.
Regulating CO2 Pressure
The performance of the kegerator and the carbonation level of the beer is significantly impacted by the CO2 pressure. Different beers require different CO2 pressure settings, so it’s crucial to set the pressure correctly for the specific beer being served.
To properly regulate CO2 pressure in your kegerator, use a rule of thumb of 12 psi, and adjust as needed. Regularly monitoring and adjusting CO2 pressure will help avoid issues such as flat or overly foamy beer, ensuring the perfect pint every time. Remember the ideal temperature for dispensing draft beer is 38 degrees.
One trick to keep the temperature on point is to set a glass or plastic cup of water inside the kegerator and check the temperature often to get an exact reading of your keg temperature.
Maintaining Beer Lines and Faucets
For the best kegerator performance and taste, beer lines and faucets must be kept clean and well-maintained. Dirty lines or faucets can lead to:
- Cloudy lines
- Moldy faucets
- The quick loss of head retention
- Lack of legs forming on the inside of the beer glass
- Flat-tasting beer
Regular cleaning and maintenance can prevent these issues and keep your kegerator running smoothly. It’s recommended to clean beer lines and faucets at least every two weeks or after each keg. By keeping your kegerator clean, you can enjoy the freshest and most delicious draft beer possible.
Summary
In conclusion, building your own kegerator offers numerous benefits, including cost savings, customization, and the ability to enjoy fresh draft beer at home. By selecting the right kegerator conversion kit, and essential components, and properly maintaining your system, you can transform your fridge or freezer into a draft beer oasis. So why wait? Dive into the world of DIY kegerators and elevate your home bar experience!
For more questions regarding kegerator kits feel free to reach out to us at Renny's. If you'd like to read up on some more information about draft beer dispensing, parts, techniques and the best draft equipment to use check out our beer education blog.
Cheers!


